






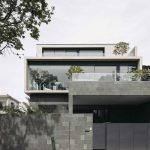





























































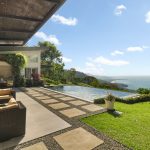

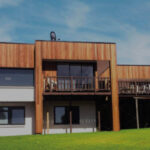


























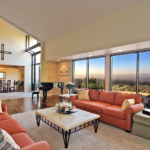







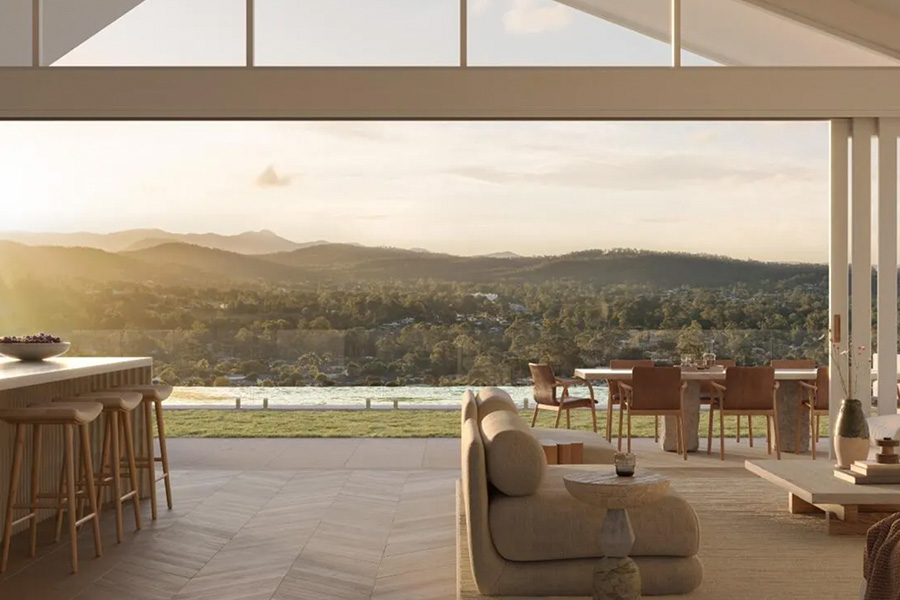
An elevated lot with a view is one of the most sought-after features in Brisbane property. Waking up to mountain ranges or city lights adds daily enjoyment and long-term appeal.
Designing a home around a view takes careful planning, though. The best outlook does not always face the best direction for sun and breeze, and large windows can bring heat, glare and privacy issues.
This guide explains how to plan a new home on an elevated lot so you capture the view without sacrificing comfort, budget or privacy.
Find the Right Elevated Lot
Not every elevated lot delivers the same view. The quality and permanence of the outlook depends on the lot’s position, the slope and what can be built around it.
Visit the lot in person and stand where your main living area would sit. Check what you can see from ground level and from where a second storey would be, since the view can change a lot with height.
Then ask what could block it in future. In a newer community, the lots below yours may not be built on yet. Ask for the design guidelines covering height limits, setbacks and any view-sharing rules. When you look at land for sale keperra and other elevated parts of Brisbane’s north-west, ask the sales team which lots have protected outlooks over open space or bushland that cannot be built out.
Balance View, Sun and Breeze
The view and the climate often pull in different directions. In Brisbane, a view facing west can bring hot afternoon sun into the living areas, while a north-facing outlook is easier to manage.
Work with your designer to place rooms carefully. Main living areas can capture the view while keeping glazing shaded with deep eaves, external screens or covered outdoor areas. Bedrooms can sit on cooler sides of the home where views matter less.
Cross-ventilation helps with comfort. Elevated sites often catch more breeze, so position windows and doors on opposite sides of living areas to let air flow through. That reduces the need for air conditioning on warm days.
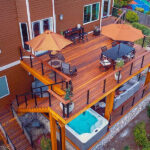
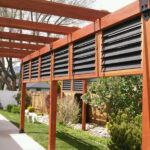
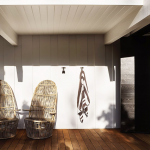
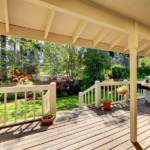
Outdoor living areas deserve the same thought. A covered deck or alfresco area that faces the view becomes an extension of the living room, but it needs protection from afternoon sun and wind. Adjustable louvres, side screens or a solid roof with good insulation can make it usable through more of the year.
Choose Glazing Carefully
Large windows frame a view, but they also bring heat, glare and higher costs. The right glazing choices make the difference between a comfortable room and one you avoid in summer.
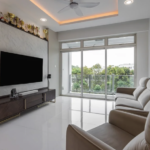
Double glazing and low-emissivity glass reduce heat gain and loss, and they also cut noise. Tinted or performance glass can limit glare on west- or east-facing windows. Ask your builder to price these upgrades for the windows that matter most, rather than across the whole home.
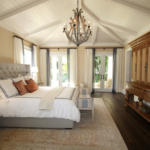
Think about window placement too. Floor-to-ceiling glass makes a strong impression, but a well-placed window at seated eye level can frame a view just as effectively in rooms where you spend most time sitting down.
Plan for Slope and Structure
Elevated lots are often sloping, which affects how and where the home is built. The design should work with the land rather than fighting it.
Split-level designs, suspended slabs or pole homes can follow the natural slope and reduce the need for heavy excavation and retaining. Ask builders who specialise in sloping sites to quote, as their designs are usually more cost-effective than adapted flat-lot plans.
Get the site information early. Request the contour plan and soil report, and ask the builder to price site works before you sign. Retaining walls, drainage and access for construction vehicles can add significant cost on steep sites.
Think about everyday access too. A steep driveway can be hard to use in wet weather and may limit garage placement. Ask your designer to check driveway gradients, pedestrian access from the street and whether the entry can be made level for ageing or visiting family.
Protect Privacy Without Losing the Outlook
Elevated homes can see a long way, but neighbours can see in too. Good design protects privacy while keeping the view open.
Consider these approaches with your designer:
- Orient living areas toward the view and away from neighbouring windows
- Use screening, planting or angled walls on side boundaries
- Place bathrooms and bedrooms where overlooking is less likely
- Raise outdoor decks with solid balustrades on exposed sides
Landscaping helps over time. Planting along side boundaries softens sightlines without blocking the main outlook.
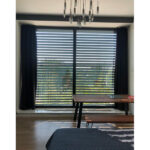
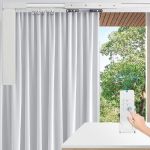
Lighting matters at night as well. Large windows facing a view can feel exposed after dark, so plan for blinds or curtains that disappear when open, and consider how internal lighting will look from outside.
Learn From Communities Designed Around Views
Some newer communities are planned specifically to make the most of elevation. Seeing how they handle streets, lots and shared spaces can guide your own design choices.
At the quarry in Brisbane’s north-west, a former extraction site is being transformed into a hilltop neighbourhood with outlooks toward the D’Aguilar Range and beyond. Walking a community like this shows how homes on different parts of a slope capture views, and how street layout and landscaping protect outlooks across the estate. Take notes on homes you like and share them with your designer.
Final Thoughts on Designing for a View
A home designed around a view rewards careful planning. Choose a lot with a lasting outlook, balance the view with sun and breeze, invest in the right glazing and protect your privacy.
Work with a designer and builder who understand elevated sites, and get site costs in writing before you commit. The result is a home where the view adds to daily life rather than to your power bills.